My apologies! Somehow the eggs were overlooked when we transcribed this recipe from my book, The Family Kitchen. (If you happen to own the book, the recipe is on page 78.) I have reinstated them; 2 large eggs. Again, sorry about that!
I know it’s corny, but I had to say it: “going bananas.” Doesn’t just about everyone use that term when they talk about banana bread? It’s easy, fun, delicious, satisfying, kid-friendly, adult-happy—just about everything a quick bread should be. Plus, no need to use the electric mixer, just a wire whisk and a wooden spoon.
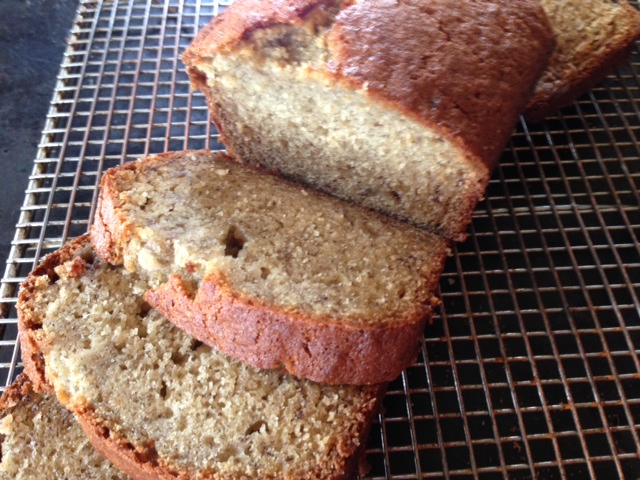
You can bake this with the nuts, or without. Clearly the bread here is without. I had a few very ripe bananas lying around and so made it this weekend, and frankly I am never sorry when I take the time for it. I was lucky to snap the picture before my kids and their friends rushed into the kitchen to devour nearly the whole loaf!
Banana Bread Recipe with Nuts
Makes one 9-nch loaf
Unsalted butter
½ cup canola oil
1 cup sugar
2 cups mashed bananas, about 3 ripe bananas
2 large eggs, lightly beaten
2 cups all-purpose flour
1 teaspoon baking soda
½ teaspoon baking powder
½ teaspoon salt
½ cup finely chopped walnuts, optional
3 tablespoons milk
1 teaspoon pure vanilla extract
- Preheat the oven to 350°F.Grease a 9-by-5-by-3-inch loaf pan with butter.
- In a large bowl and using a wire whisk, whisk together the oil and sugar until blended. Add the bananas and eggs and mix well with a wooden spoon.
- In a large bowl, combine the flour, baking soda, baking powder and salt. Whisk well with a wire whisk. Gradually add to the banana mixture and stir until incorporated. Do not overmix. There will be some streaks of flour, which is fine.
- Stir in the nuts, if using, milk, and vanilla and mix until evenly distributed.
- Pour and scrape the batter into the pan and smooth the top. Bake for 60 to 70 minutes, or until a toothpick inserted in the center comes out clean.
- Invert the loaf and remove it from the pan. Let the bread cool right side up on a wire rack.
[from The Family Kitchen]

